Trezor.io/start
If you’ve purchased a Trezor hardware wallet or are considering using one for the first time, Trezor.io/start is the official page where your journey begins. This page guides you through setting up your device, installing the right software, creating backups, and learning the key security steps needed to protect your cryptocurrency. Whether you're new to crypto or already familiar with digital wallets, Trezor.io/start simplifies the entire process and helps you get started safely.
What Is Trezor.io/start?
Trezor.io/start is the official setup page for Trezor hardware wallets. It is designed to help new users:
Install the Trezor Suite app
Update their device firmware
Create or restore a wallet
Back up their recovery seed phrase
Learn how to use the wallet securely
This page ensures that you follow the correct steps and avoid downloading software from unofficial sources. Since cryptocurrency security depends heavily on using trusted tools, Trezor.io/start is essential for a safe setup.
Why Trezor Is a Secure Option for Crypto Users
Trezor is one of the most popular hardware wallets because it stores your private keys offline. This type of wallet is known as “cold storage,” and it offers a much higher level of protection than online wallets or exchange accounts. With Trezor:
Your keys never leave the device
You approve each transaction physically
Your wallet stays safe even if your computer gets infected
Trezor.io/start serves as the safe gateway for activating this offline security system.
Steps to Set Up Your Device Through Trezor.io/start
Setting up Trezor is simple when you follow the instructions on the official page. Below is a complete explanation of what you will do once you visit Trezor.io/start.
1. Open the Official Website
Start by manually typing Trezor.io/start into your browser. This prevents you from landing on fake or misleading websites. Once there, choose your device model—either Trezor Model One or Trezor Model T.
Each model has slightly different features, but the setup steps are almost the same.
2. Download Trezor Suite
Trezor Suite is the official app used to manage your crypto. It lets you:
Check balances
Send and receive coins
Monitor your portfolio
Adjust security and privacy settings
Download the software directly from Trezor.io/start. It’s available for Windows, macOS, and Linux.
After downloading, install the application and open it.
3. Connect Your Trezor Device
Use the USB cable that came with your Trezor device to connect it to your computer. When you open Trezor Suite, it will instantly detect your device.
If your device has never been used, you may need to install or update the firmware. Firmware updates are important because they ensure that your device has the latest security improvements.
Follow the on-screen instructions to complete the update.
4. Create a New Wallet
Once your device is ready, Trezor Suite will ask whether you want to create a new wallet or restore an existing one. Select Create new wallet if you are starting fresh.
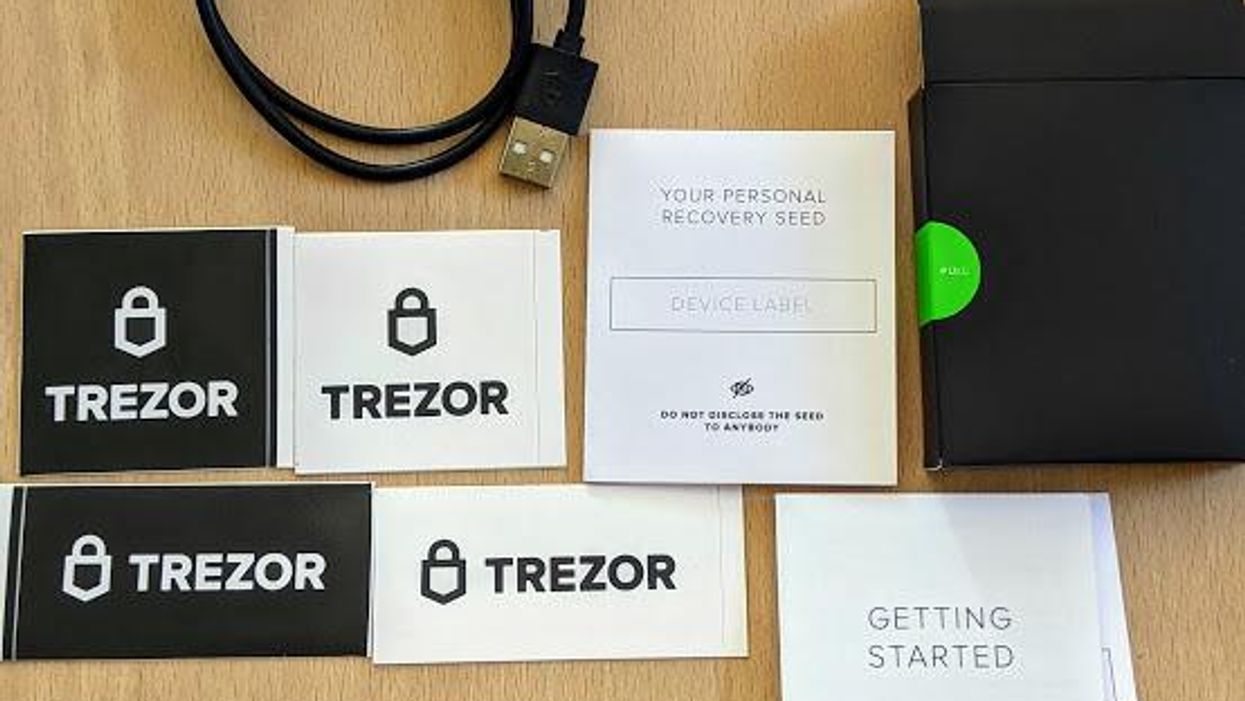
During this step, your Trezor will generate a recovery seed phrase. This is a list of words that acts as your backup. If you ever lose or damage your Trezor, you can use this phrase to recover your entire wallet.
Write the words down on the recovery card included in the box. Store this card safely offline.
Important security reminders:
Never take a photo of your seed phrase
Never save it on your computer or phone
Never share it with anyone
Never enter it on any website
The seed phrase is the most critical part of your crypto security.
5. Confirm Your Recovery Seed
After writing the seed phrase down, Trezor Suite will ask you to confirm it. This helps ensure that you copied it correctly and prevents problems later.
Once confirmed, your new wallet is fully backed up and ready.
6. Set a Strong PIN
Next, create a PIN for your Trezor device. You’ll need this PIN every time you unlock your hardware wallet. Choose something that is hard to guess but easy for you to remember.
This PIN protects your device if it is ever lost or stolen.
7. Start Managing Your Crypto
After finishing the setup, you’ll be taken to the Trezor Suite dashboard. From here, you can:
Add cryptocurrencies
Monitor portfolio performance
Send and receive funds
Track your transaction history
Enable privacy settings for safer transactions
Trezor Suite is designed to be simple and clean, making it easy for beginners to navigate.
Features Available After Setup
Once you’ve gone through Trezor.io/start, you gain access to several powerful features:
Secure Transactions
Each transaction must be approved on your physical device. This prevents unauthorized transfers.
Privacy Tools
Trezor Suite includes privacy features such as Tor integration, giving you a safer way to interact with blockchain networks.
Exchange and Buy Options
You can buy, sell, or swap crypto through integrated partners directly inside Trezor Suite.
Multiple Accounts
You can organize your funds by creating separate accounts for different coins or purposes.
Long-Term Safety Tips
To keep your wallet secure:
Store your recovery seed phrase offline
Keep Trezor Suite updated
Only download software from official sources
Avoid connecting your wallet to shared or public computers
Protect your PIN and device from unauthorized access
These practices help keep your crypto safe for the long run.
Conclusion
Trezor.io/start is the official and safest place to begin using your Trezor hardware wallet. The page guides you step by step—from downloading Trezor Suite to writing down your recovery seed and securing your wallet with a PIN. Whether you’re storing Bitcoin, Ethereum, or other cryptocurrency assets, Trezor.io/start ensures that your setup is simple, secure, and beginner-friendly. With proper usage and safe practices, your Trezor wallet will help you protect your digital assets for years to come.